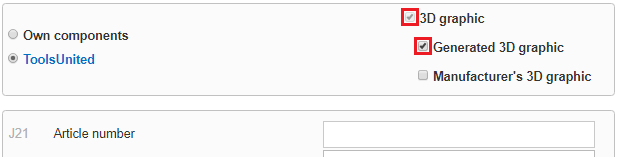
ToolsUnited is a manufacturer-independent, web-based database for tool data. We can search for tool data with 3D graphic information, specify tool names, or use the extensive ToolsUnited classification to find the tools we are looking for. Here, for example, I specify a diameter of 20 mm and a cutting length of 30 mm and get an overview of all tools stored with these parameters. I can filter by corner radius, manufacturer, overhang length, clamping system, and so on.
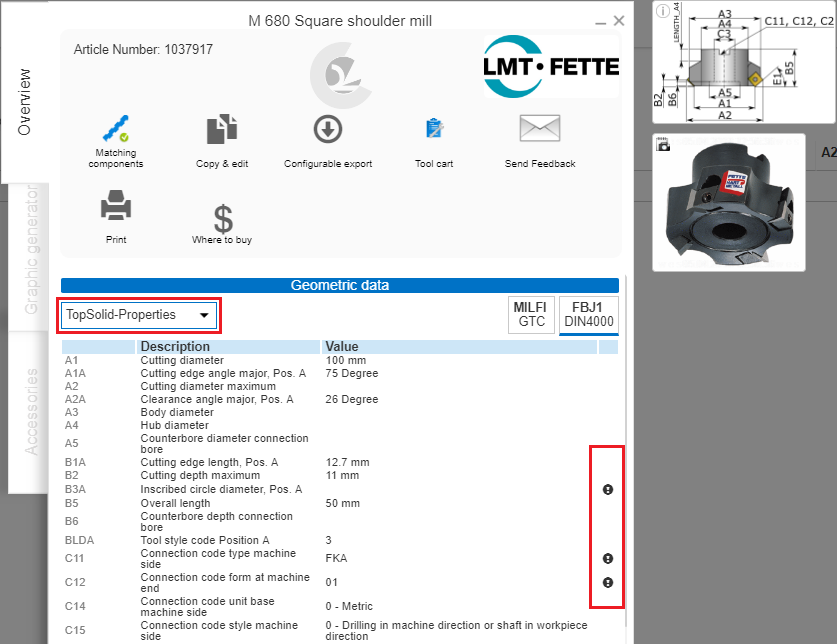
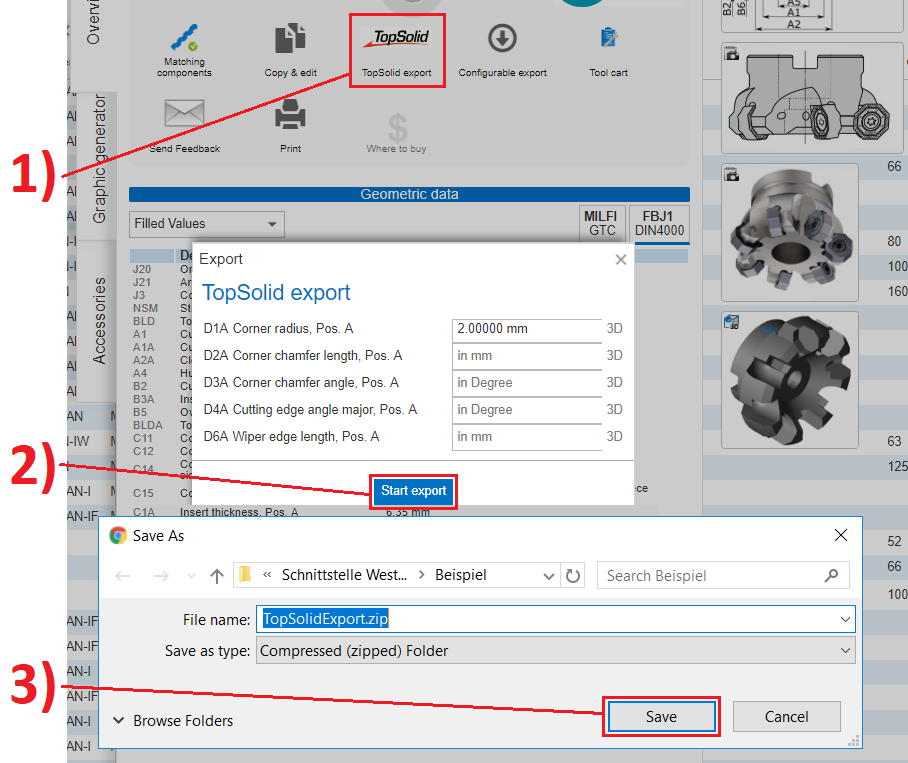
In the detailed view of a tool, I receive all the information provided by the manufacturer, including the information relevant for export to TopSolid, and I can start the export with a single click. The 3D graphic is generated by ToolsUnited based on the data stored by the manufacturer. I then copy this tool into my own area, where I can use it and, in a further step, assemble it into complete tools.
Another way to search for tools is the application search. Here, I start from the machining process I want to create and select the appropriate tool. I am now looking for a machining process for turning, select the tool size, and receive a list of search results. There are 600,000 or more components from all relevant manufacturers, most of them with data for 3D graphics and for transfer to TopSolid. I now also copy this tool into my own area, into my tools, and start the TopSolid export.
2:45
When assembling a complete tool, I can use all components available in ToolsUnited or those I have copied into my own area. Starting with an empty complete tool, I first add the cutting part. I take the milling cutter that I previously copied into my own tools. I can once again view all the information about this cutter and now add it to the complete tool. I can then search above the interface for a suitable holder from the ToolsUnited database. Here as well, I can access the information and, if necessary, add further components to the complete tool. However, we will leave it at these two components for now. The complete tool is then displayed in the list of complete tools, and here too I can start the export to TopSolid.
4:11
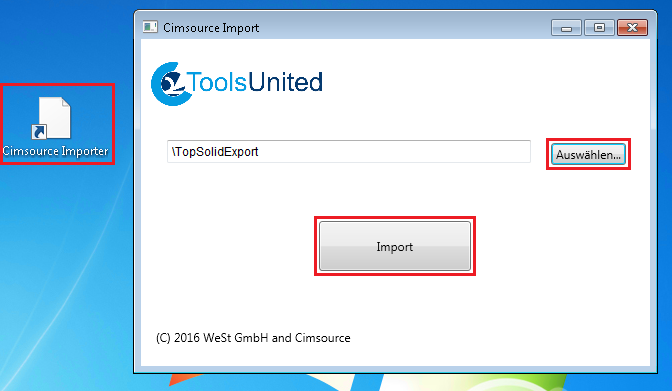
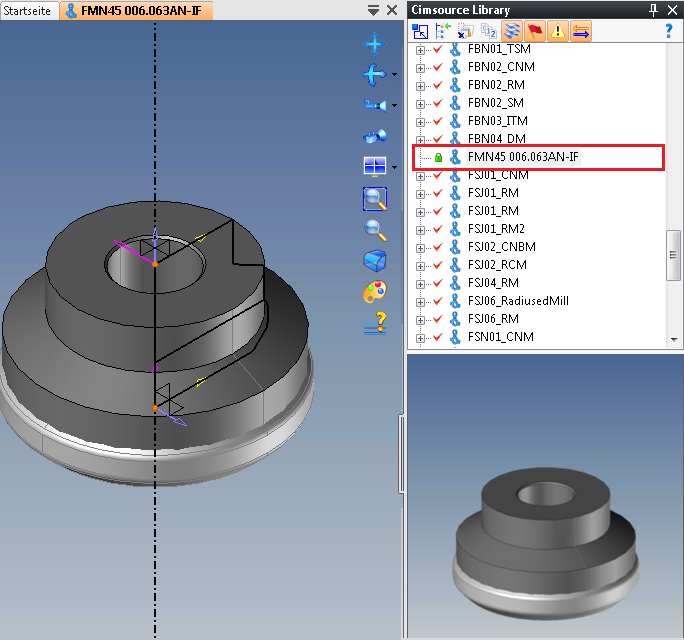
The import into TopSolid itself is done using the free importer. I simply open the downloaded ZIP files, which contain all the tool information, and start the import. This works for simple tools as well as for complete tools. The tools are created in TopSolid with all relevant information and functions so that they can be used directly, as shown here with this turning tool.