2. Start Fusion and Enable the Plugin
After installation, launch Fusion.The plugin will start automatically by default. Following information means the plugin is running,
3. Configure Your ToolsUnited Account
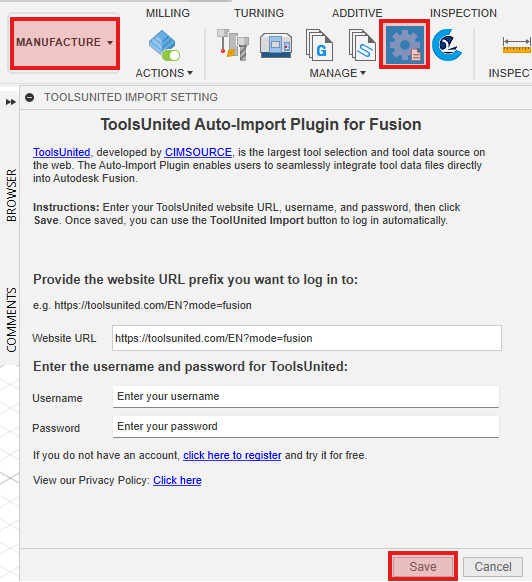
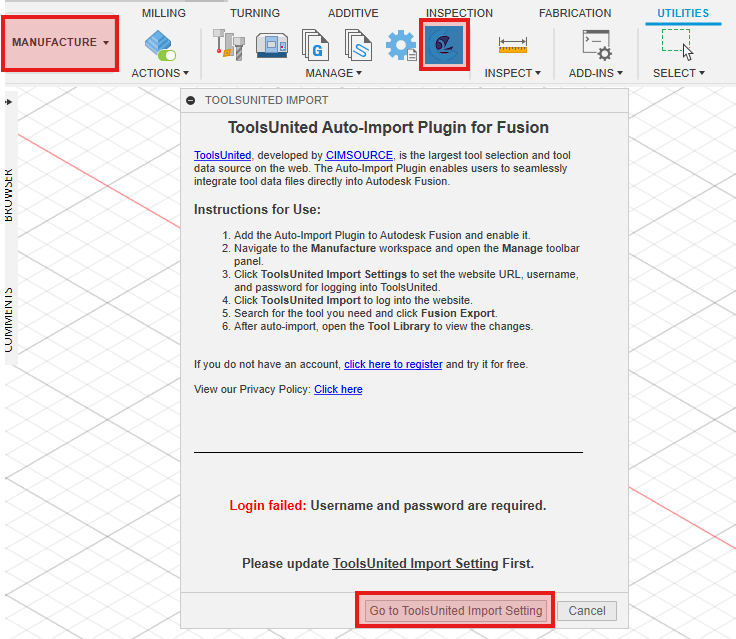
1. In Fusion go to the Manufacture menu.
2. Under the Manage section, click ToolsUnited Import Setting.
3. Enter your ToolsUnited ((https://toolsunited.com/EN)) login details (username and password) and save them
You can update your login information anytime from this menu.
4. Log in to ToolsUnited
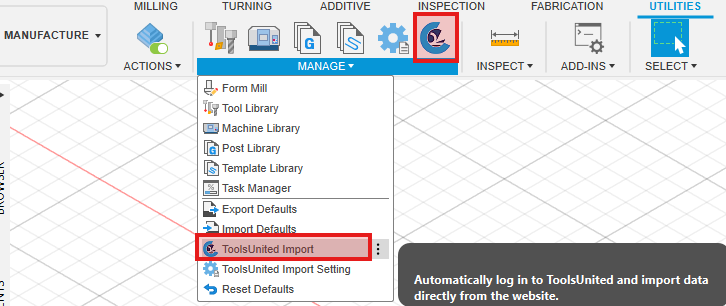
In Manufacture → Manage, click ToolsUnited Import. This will automatically open your browser and log in to ToolsUnited using the saved credentials.
Note: If you haven’t set up your login details yet, you’ll see a prompt to configure them. And by clicking Go to ToolUnited Import Setting, you can update the account settings.

5. Select and Export Tools from ToolsUnite
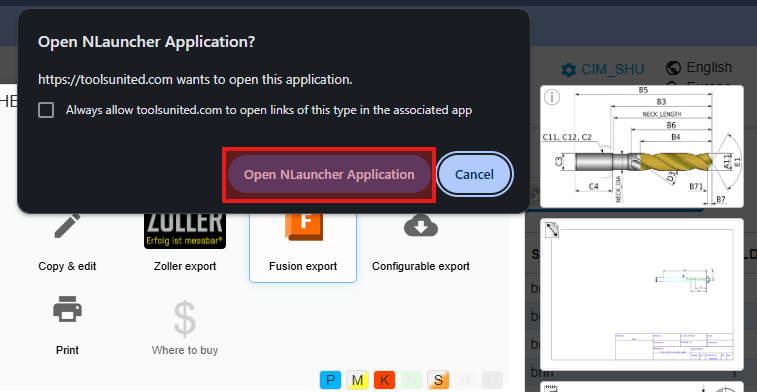
Search for the tools you want in ToolUnited. Select the desired tools from the search results. Click Fusion Export to export tool data.
After clicking Fusion Export, then allow the browser to open Fusion for the automatic import process.
6. Verify Imported Tools in Fusion 360
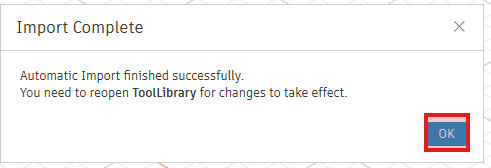
Once the import is successful, a confirmation window will appear in Fusion 360.
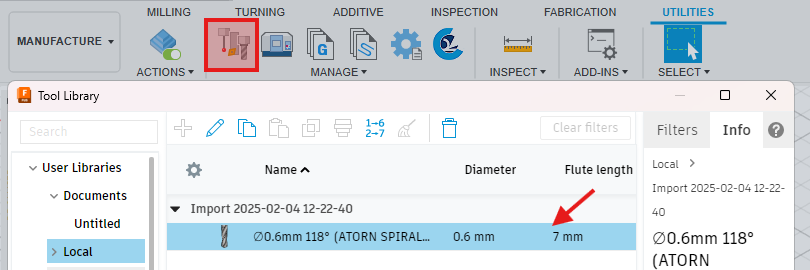
You can find the imported tool data in Manufacture → Tool Library.
